Biscoff Drip Cake
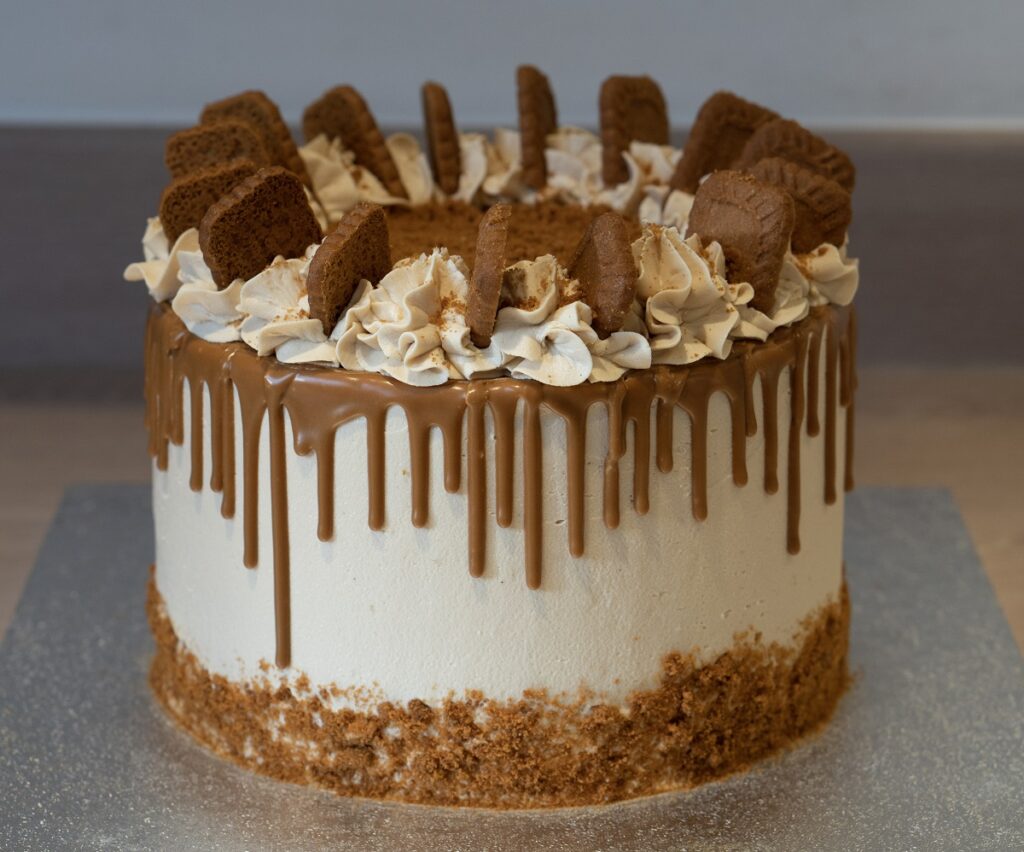
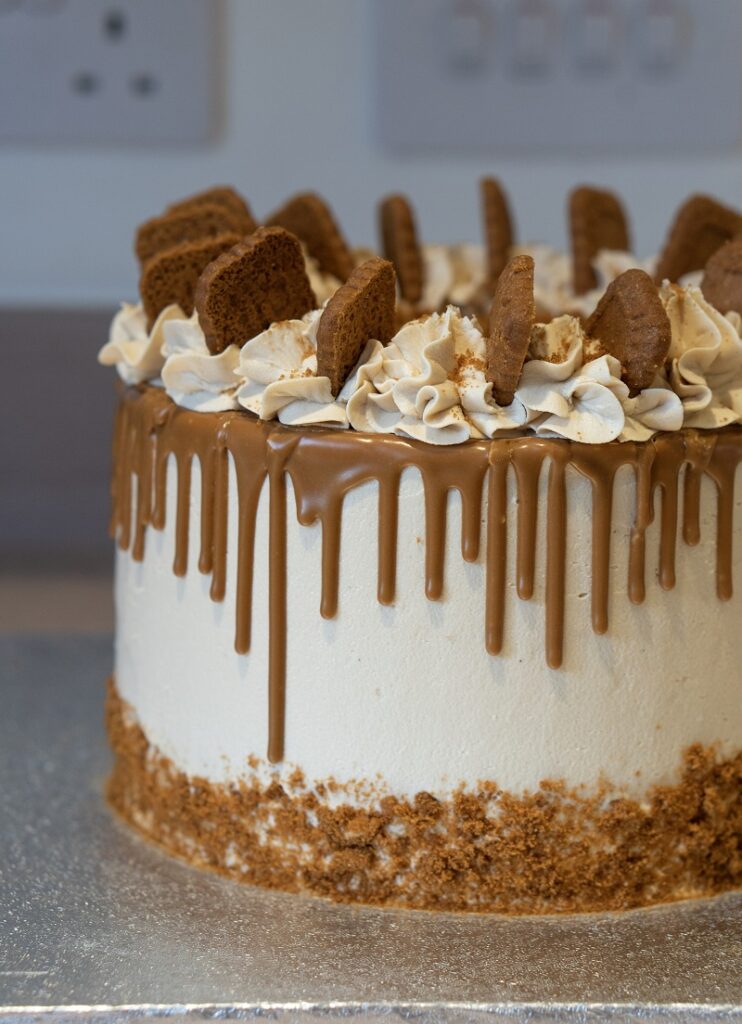
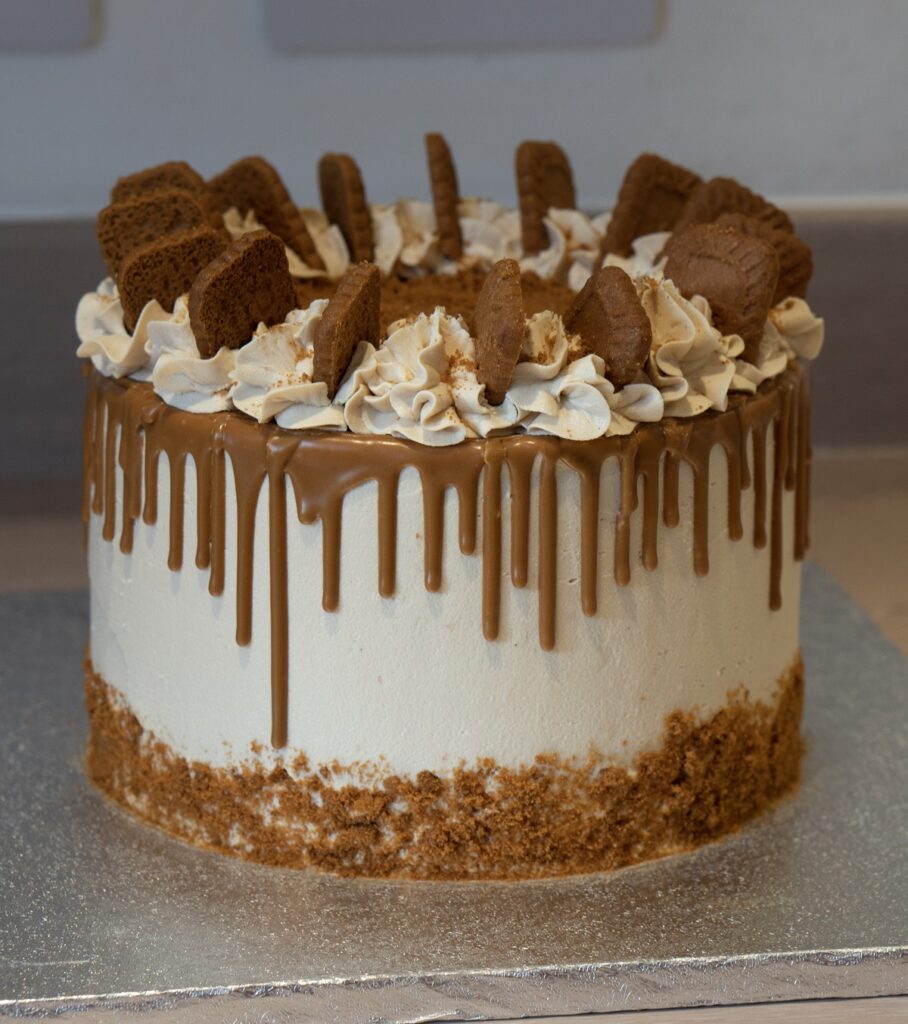
If I could eat a slice of this cake every day, I really would. It’s a Biscoff lover’s dream! Soft Biscoff flavoured sponge with Biscoff buttercream, a Biscoff drip and plenty of Biscoff Biscuits for a little bit of crunch. Delicious…

It’s official. This week is a Biscoff week. First Biscoff Rocky Road and now this unbelievably delicious cake? You lucky lot. I’ve even got Biscoff Cupcakes if you want to go all out!
I’ve fallen for the Biscoff trend…hard.
But it has such a great flavour. One of the things I love about Biscoff is the rich, spiced caramel isn’t too sweet, so it actually compliments the sweetness of buttercream and cake perfectly. It’s a fantastic balance.
That and the fact that Biscoff Spread makes the PERFECT drip. For some reason, I’ve always found chocolate ganache a little challenging, but this is so easy. All you have to do is pop the spread into the microwave for a few seconds until it’s a little runny. Easy peasy.


I hope you guys love this recipe as much as I do!
INGREDIENTS
Cake:
400g self raising flour
200g caster sugar
200g light brown sugar
400g butter
8 large eggs
2tsp baking powder
50g natural yoghurt
100g crushed Lotus Biscoff Biscuits
150g Lotus Biscoff Spread
2tsp vanilla extract
Buttercream:
400g unsalted butter
800g icing sugar
200g Lotus Biscoff Spread
2tsp vanilla extract
3tbsp milk
To decorate:
125g Lotus Biscoff Spread
100g crushed Lotus Biscoff Biscuits
8 whole Lotus Biscoff Biscuits
METHOD
- Preheat your oven to 160°C (320°F, gas mark 4). Grease three 8 inch cake tins with butter and line with baking parchment (aka greaseproof paper). Place 200g of Biscoff Biscuits into a food processor and pulse into fine crumbs.
- In a large bowl, cream together the butter and sugars. Add the vanilla, yoghurt and Biscoff Spread. Crack the eggs into the mixture two at a time, mixing thoroughly with each addition.
- Sift the flour, baking powder and a pinch of salt into a separate bowl, then mix in 100g of the Biscoff Biscuit crumbs. Gently fold the dry ingredients into the egg mixture. Be careful not to overmix – stop when you can’t see anymore flour.
- Divide the cake batter between the three prepared cake tins and bake for 30-35 minutes, until a toothpick inserted into the centre of the cakes comes out clean. Allow the cakes to cool for around 10 minutes in their tins before transferring to a wire rack to cool complete.
- While your cakes are cooling, make your buttercream. Using a stand mixer or hand-held mixer, beat the butter on a low-medium speed for five minutes until it goes pale and gains some volume. You may need to stop your mixer and scrape down the bowl a couple of times.
- Sift in the icing sugar a few tablespoons at a time, lightly mixing using a spatula before beating on a low setting between each addition. Repeat until you’ve used all of your icing sugar. Add the Lotus Biscoff Spread and vanilla extract, and mix until fully incorporated. Add a few splashes of milk to your buttercream if it’s a little too thick.
- Once the cakes have cooled, use a bread knife or cake wire to give them a smooth, flat top. Spread a little buttercream on a 10-inch cake board and add your first layer of cake. Add a layer of buttercream, sandwich the second cake layer on top and press down gently. Repeat for the the final layer of cake. Cover the cake with a thin layer of buttercream (aka a crumb coat) and put in the freezer for 20 minutes.
- After 20 minutes, take the cake out of the freezer and place the board onto a decorating turntable – this will make it much easier to spread your buttercream around your cake. Cover the cake in buttercream and smooth round. You should have some buttercream leftover – set that aside, as you’ll need this a little later. Use the leftover Biscoff crumbs to make a border around the bottom inch of the cake, pressing into the buttercream using the back of a spoon or a palette knife. Put your cake back in the freezer for another 15 minutes – you want it to be nice and cool ready for the drip!
- Melt 125g of Biscoff Spread in the microwave for around 20-30 seconds until it’s got a nice drip-able consistency. Pour the melted spread into a squeezy bottle or a piping bag with the end snipped off. With your cake on the turntable, squeeze the piping bag or bottle gently around the edge of the cake so that the melted spread falls, creating drips. Continue around the whole cake, filling any big gaps, then fill in the centre and smooth gently using a palette knife.
- Add the leftover buttercream into another piping bag fitted with your favourite nozzle and pipe swirls around the top border of your cake. Use the remaining Biscoff Biscuit crumbs to fill the remaining space on top of the cake, inside the buttercream swirls. Finally, cut your remaining Biscoff Biscuits in half and place them on top of the buttercream.
- Take a few pics for the gram (don’t forget to tag @thesweettastebakery) and dig in!
What other flavour cakes would you like to see in my recipes? Let me know in the comments!

How many portions does the Biscoff drip cake cut into please? Thank you
This totally depends on how you cut the cake. As wedges, you can easily get 8 slices out of it, but it can serve over 20 if sliced correctly. I’d recommend looking into slicing cakes for events.